Gecko v7 Gecko v7
  • +44 (0) 131 240 3390
  • +44 (0) 131 240 3390
  • Gecko Agency
    Design
    Brand Strategy
    Web Design
    Development
    Umbraco
    Custom API Integrations
    Custom Web Development
    Virtual Website Planning
    Digital Marketing
    Search Engine Optimisation
    Paid Search Marketing
    Content Marketing
    Social Media Marketing
    Support
    Support Packages
    Blog
    Case Studies
    About Us
    Careers
    Contact
    Edinburgh

    Umbraco Tutorial: Content and Archetypes Widgets

    4th July 2019

    Setting the scene

    I think most people would say the web industry is pretty fast at changing, just think how the web looked a mere 10 years ago. Back then we used to have individual website templates that would do a single task, homepage, gallery page, custom content, ABC page etc. If a client wanted a change then they would call up their agency and get them to either change an existing template or add a new one. Depending on the nature of the change, the budget available, and the timescales allowed, the final result would be on some kind of scale from exactly what is required to some sort of compromise.

    Introducing content widgets

    To mitigate some of the issues templates can have, we started to build our sites with a slightly different make-up. Instead of a lot of bespoke templates, we started to use a few bespoke templates and one generic one. This generic template would be the standard template throughout the site and would work for around 90% of the use cases.

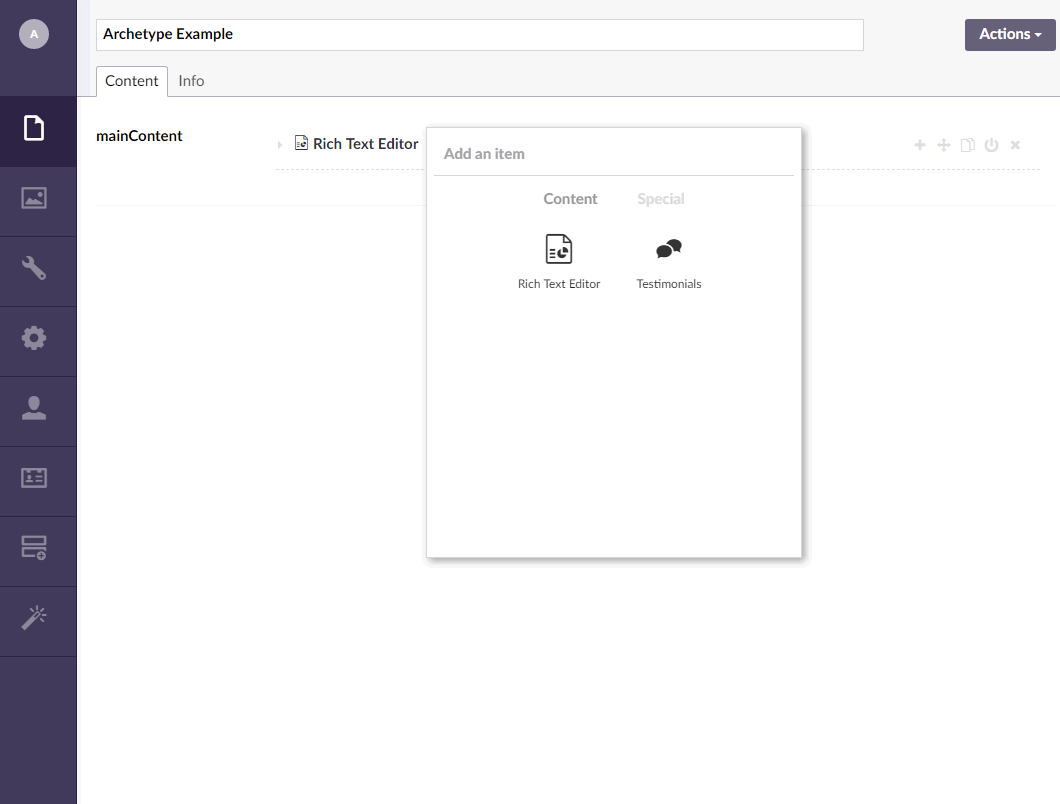
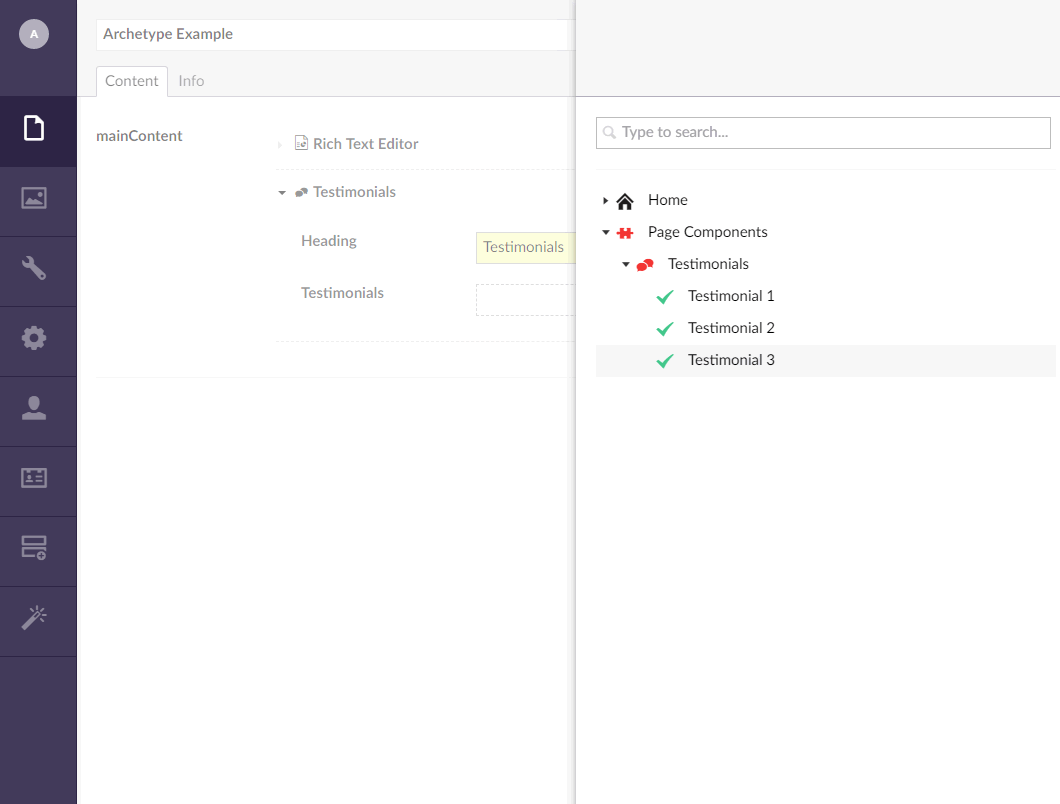
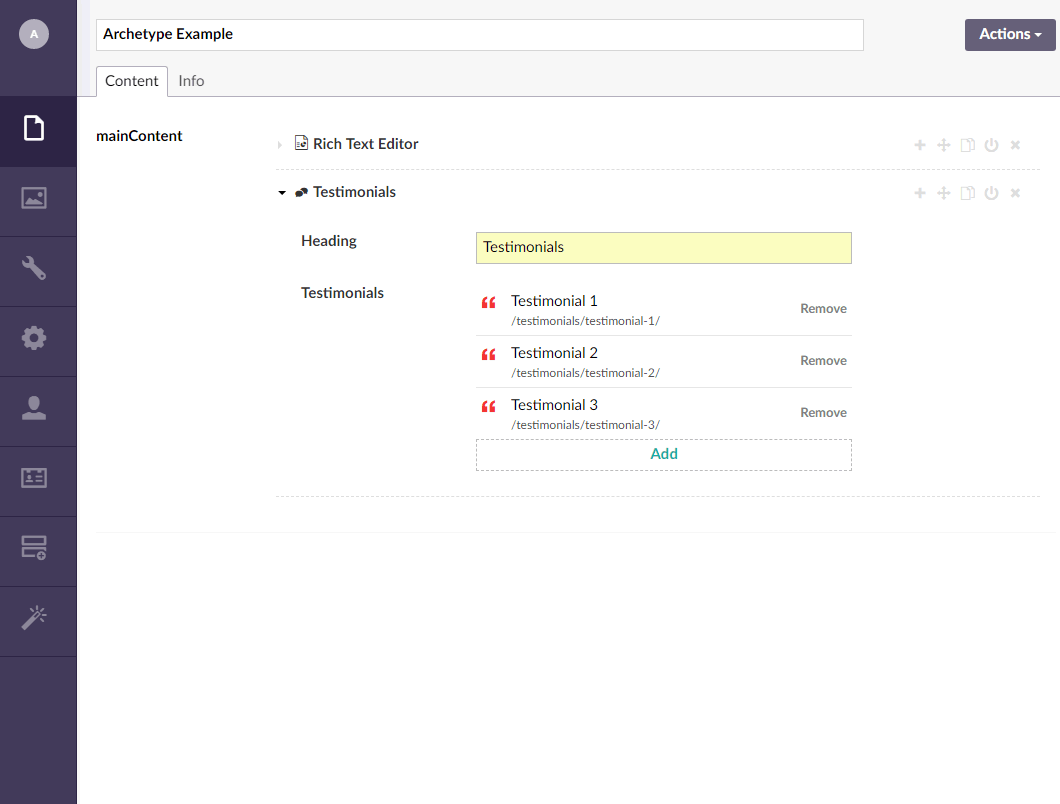
    So what's so special about this template? For a start, the main content elements are not predetermined, instead, the page starts with no elements and an editor picks what elements they want from a bank of possible ones. We call these elements content widgets and its this flexibility that makes it a lot easier for the editor to create the required page without having to keep coming back to the agency for relatively simple content changes.

    There will still be a need for custom elements but we can now decide on what works better for the editor, a new template or a new content widget. As we progressed we found adding a new widget was the way to go for the majority of cases.

    So how did we implement this in our Umbraco sites?

    We started doing this back in Umbraco V6 with widget builder but it really came into its own with Archetypes for Umbraco 7. We split the content into 2 main types of widgets; main content and sidebar. There was a bit of cross over between the 2 types but we found it easier for the editor to keep them as separate banks of widgets.

    Using Archetypes in Umbraco CMS

    So let's assume you have a fresh install of Umbraco CMS.
    Lets set up a few items we will need...

    • In the developer section, add the archetypes package.
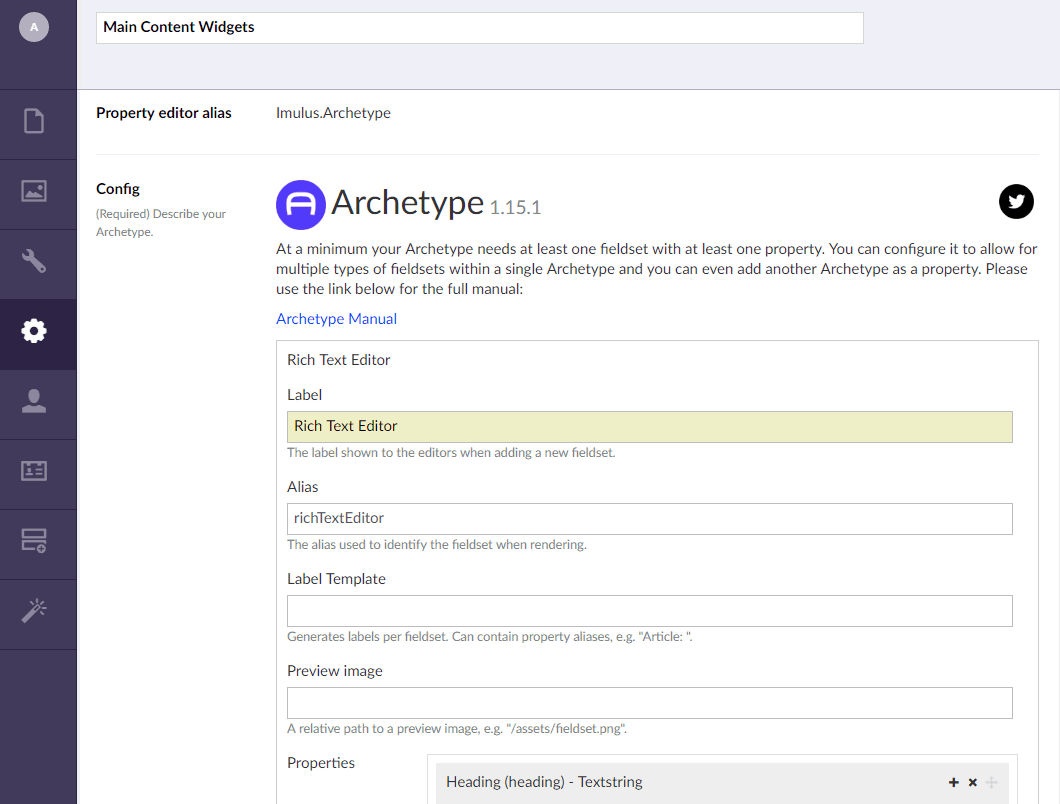
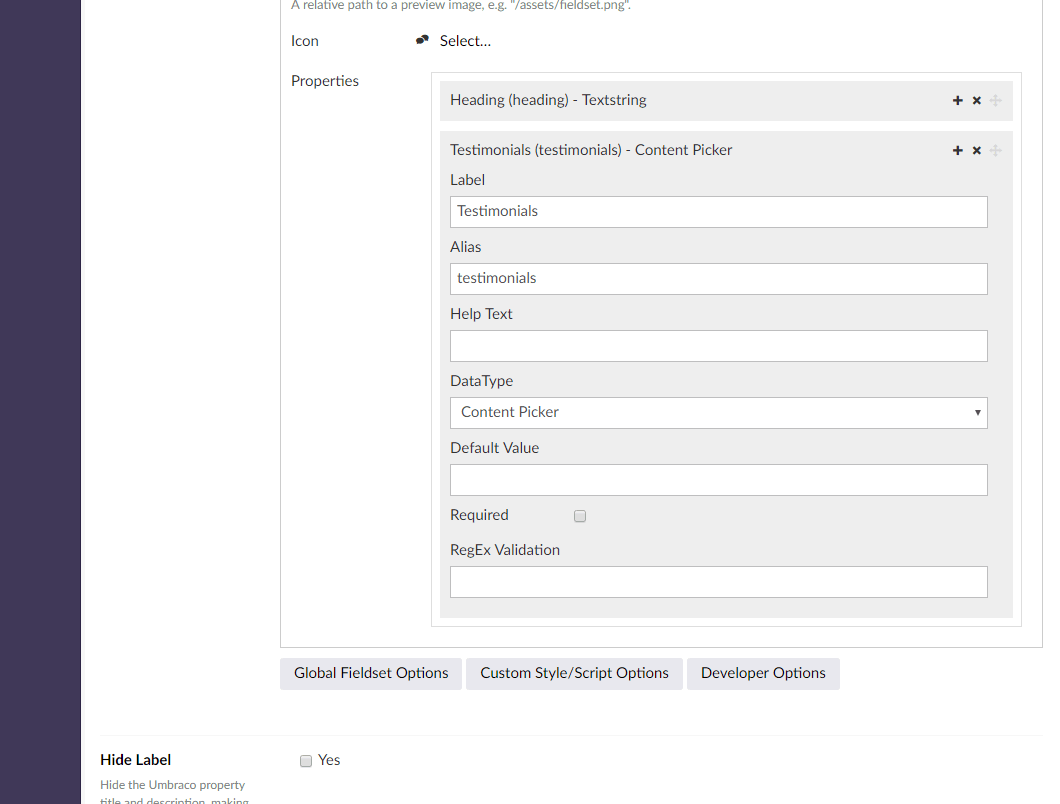
    • Next, create a new datatype - let's call it "Main Content Widgets" and set the property editor to archetype.
    • Next, we will need to fill in the details for the widgets we want to have available.
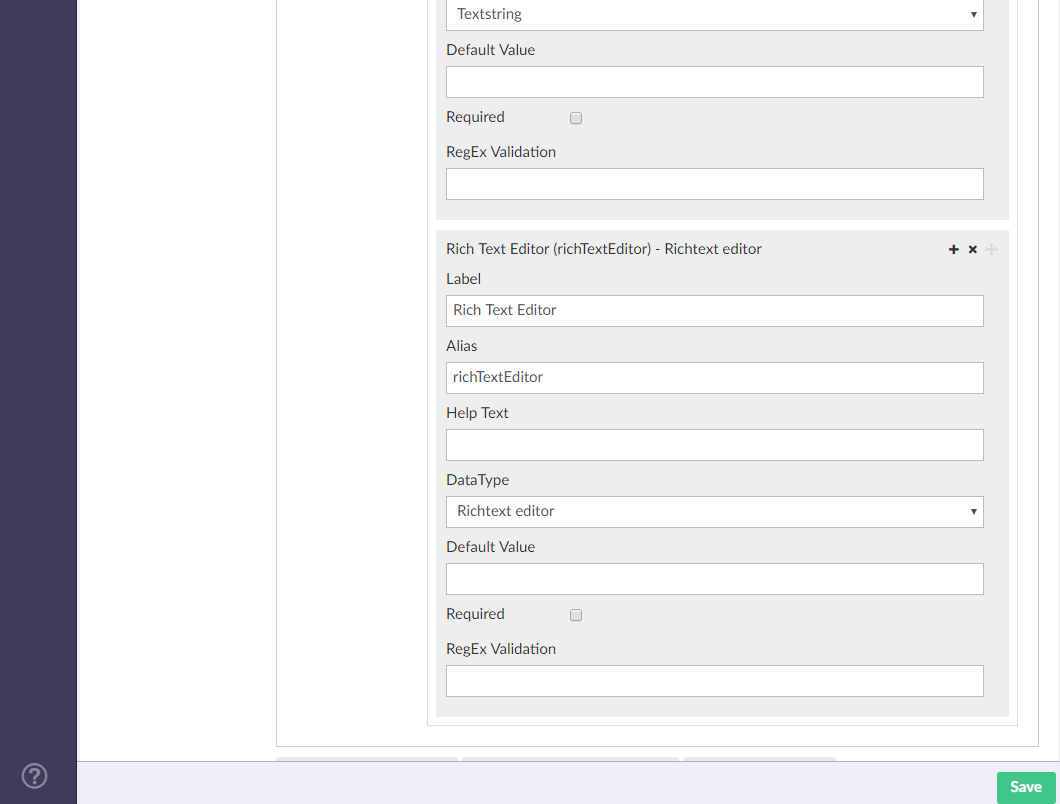
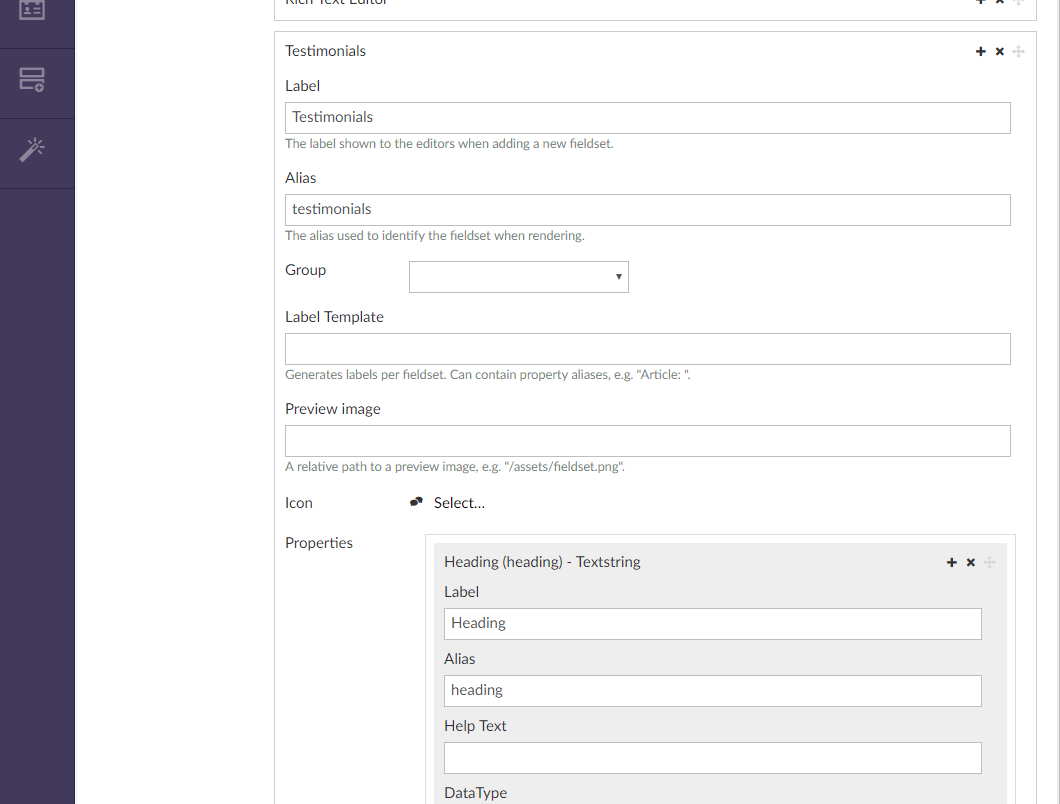
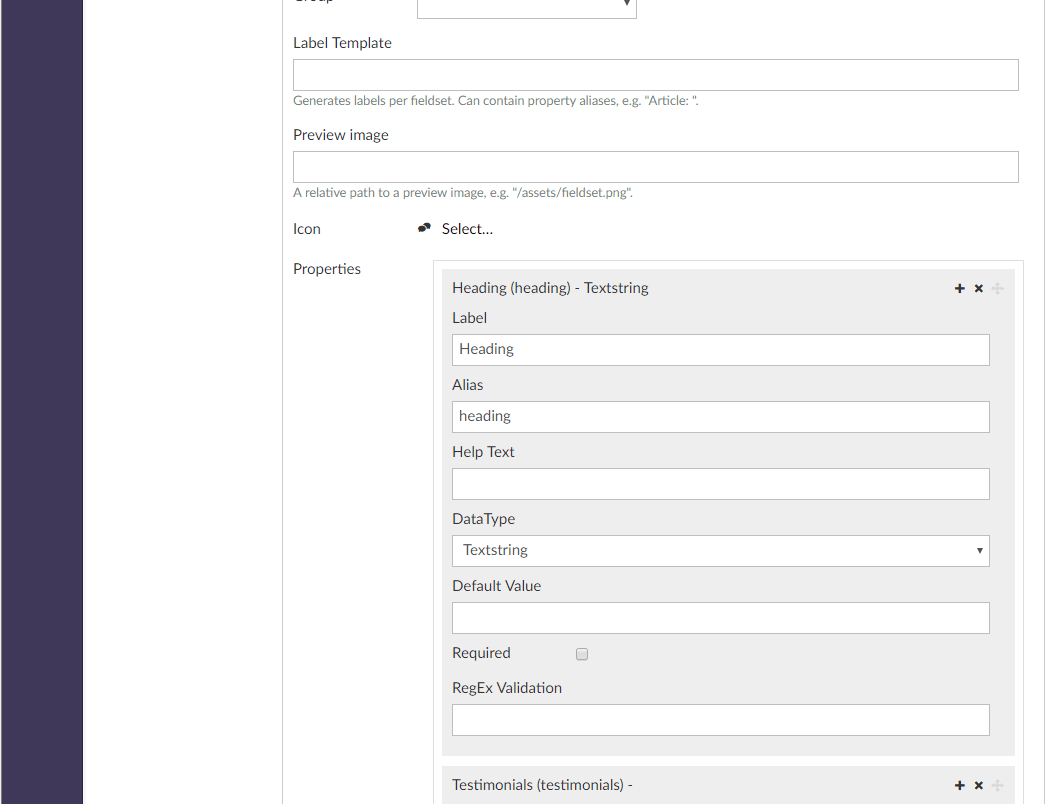
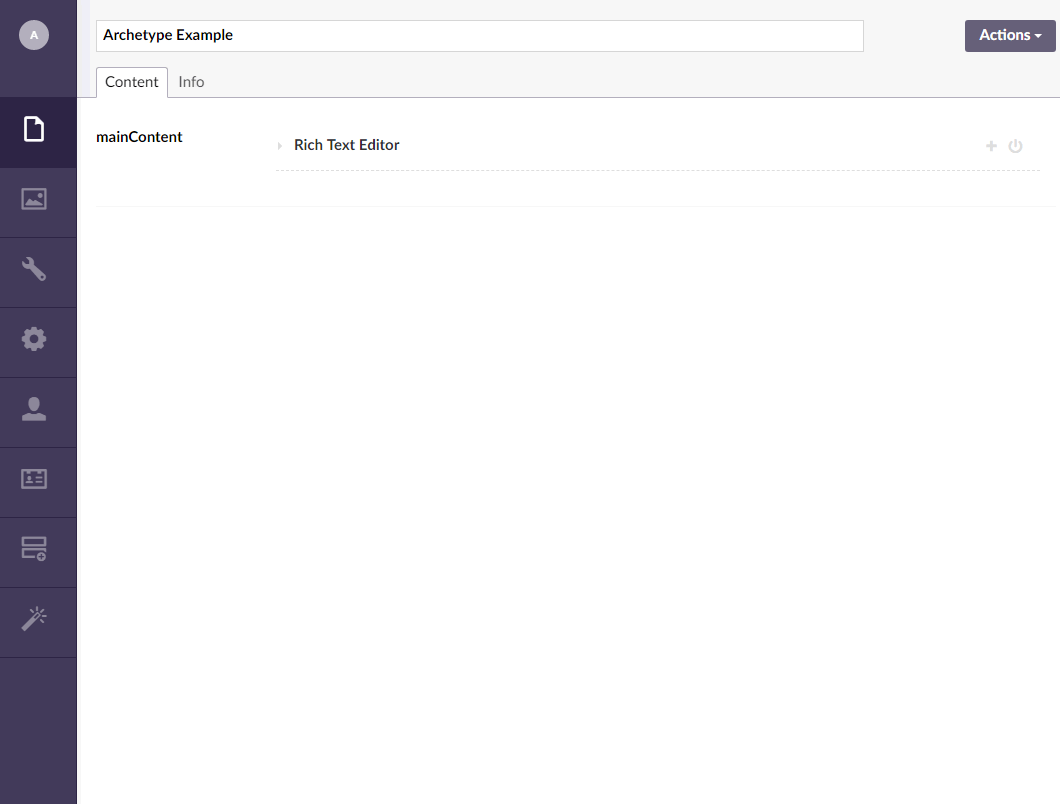
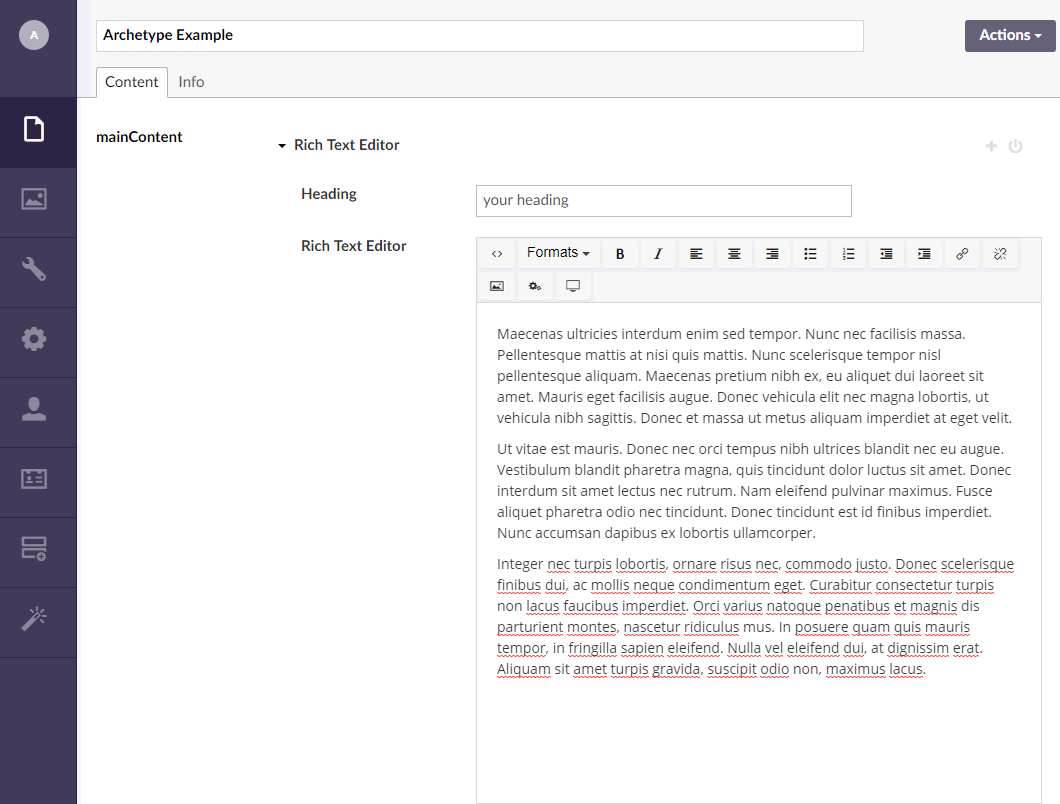
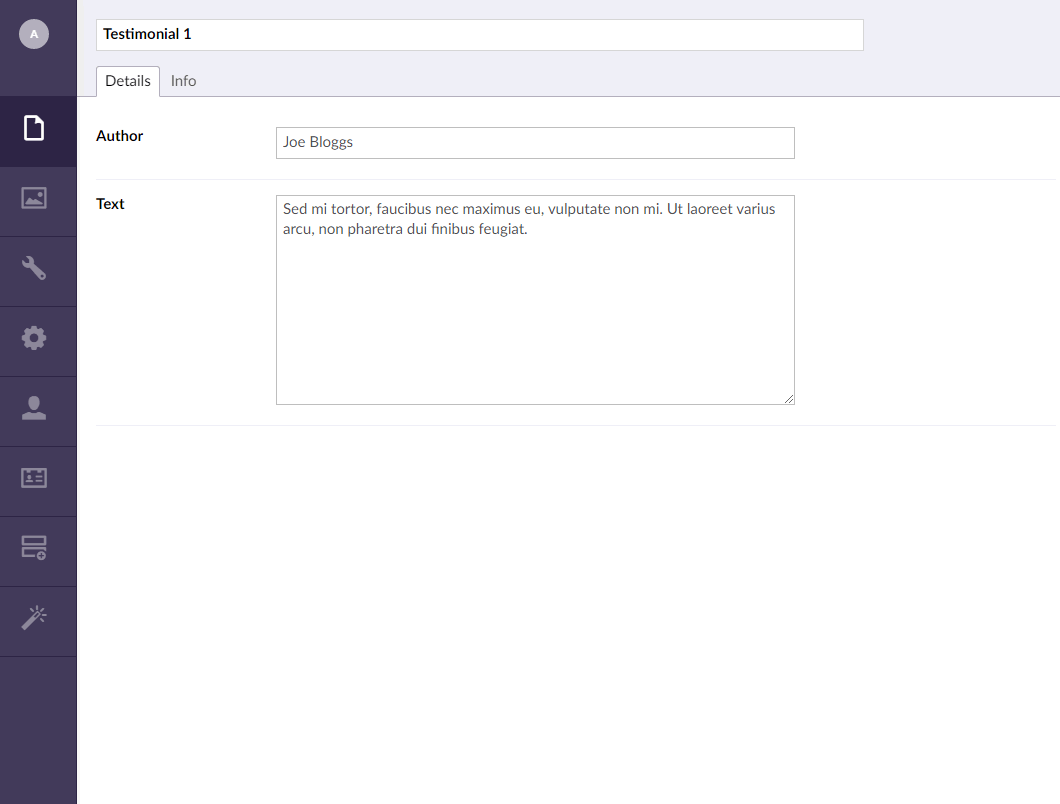
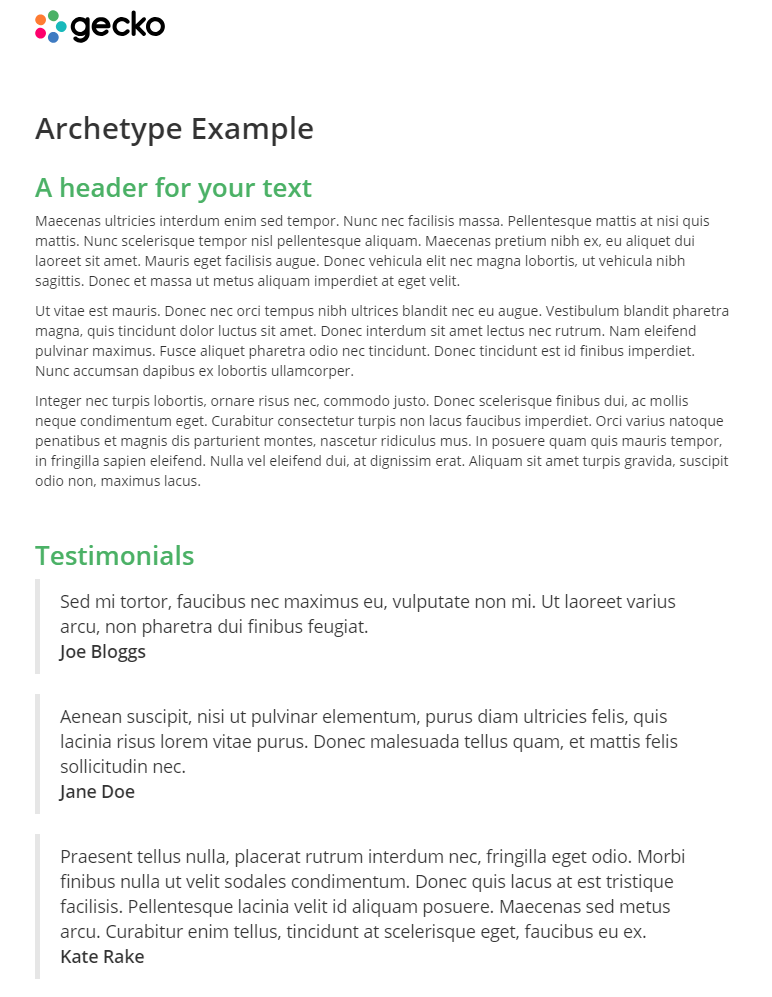
      • Archetypes are broken down into what are called fieldsets and for each fieldset, there are a number of properties. For us each fieldset will be a widget and the properties will be what we need for that widget - so first let's add a basic widget that has a heading and a rich text editor - it will look something like this:
    Basic Archetype Widget - Rich Text Editor with heading
    widgets-rte-1.png widgets-rte-2.png widgets-rte-3.png
    • Now let's add another widget. Select the plus the Global Fieldset Options button and tick the Enable Multiple Fieldsets checkbox.
    • Now beside the RTE widget there is a + button we can use to add another fieldset.
    • Select it and add a new widget - For this one, we will it add a testimonial widget - so it will also have a couple of properties author (textstring) and quote (textarea
    Basic Archetype Widget - Testimonials with heading
    widgets-t-1.png widgets-t-2.png widgets-t-3.png widgets-t-4.png

    Before we start using these we need to add them to a doctype.
    So in the settings section add a "content page" doctype, with a doctype property alias "mainContent".
    Set the data type for this property to the archetype we have just made.

    While we are in the settings section lets also make up the following basic doctypes:

    • Homepage - for now just have it allow our content page as a child node.
    • Page Components - where we will store our non web-space nodes - it will be a sibling of the homepage - this is more of personal preference so if you are ok mixing nodes that are full web pages with nodes that are just part of a web page then feel free to ignore this.
    • Testimonials - this should be added in the child permissions of page components.
    • Testimonial - this should be added in the child permissions of Testimonials and should have 2 fields author and text.

    Create the corresponding nodes to doctypes so we have a simple site structure of a homepage with a single child, and a page component node with a testimonials child which has a number of testimonial children.

    basic-structure.png
    • Go to the Archetype Example node we made in the last post.
    • Open up the first fieldset "Rich Text Editor" and add some content for the Heading and the RTE field.
    archetype1.png archetype2.png

    Before we add a testimonial archetype widget we need to make up a data node so in your site tree structure go to:

    • Page Components > Testimonials > Testimonial 1 and fill in the fields with some data.
    testimonial1a.png testimonial1b.png
    • Do this for the other 2 testimonial nodes and then go back to your Archetype Example node.
    • Select the + button at the top the right of the widget and select a testimonial widget.
    • Add a header for the testimonial and then use the content picker to pick 3 testimonials.
    testimonial-widget1.png testimonial-widget1b.png testimonial-widget1c.png
    Partial to render mainContent
    
    @inherits global::Umbraco.Web.Mvc.UmbracoViewPage
    @using Archetype.Models;
    @using Archetype.Extensions;
    @{
    
    var node = Umbraco.AssignedContentItem;
    ArchetypeModel a = node.GetPropertyValue<ArchetypeModel>("mainContent");
    if (a == null){return;}
    
    ArchetypeFieldsetModel rteFs = a.Where(x => x.Alias == "richTextEditor").FirstOrDefault();
    
    ArchetypeFieldsetModel tFs = a.Where(x => x.Alias == "testimonial").FirstOrDefault();
    
    
    }
    
    @RenderRteFs(rteFs)
    @RenderTestimonialFs(tFs)
    
    @helper RenderRteFs(ArchetypeFieldsetModel fs) {
    	if(fs==null){return;}
    	var heading = fs.GetValue("heading");
    	var rte = fs.GetValue("richTextEditor");
    	<div class="rteWidget">
    	@if( !string.IsNullOrEmpty(heading )){
    		<h2>@heading </h2>
    	}
    	@if( !string.IsNullOrEmpty(rte)){
    		@Html.Raw(rte)
    	}
    	</div>
    }
    
    @helper RenderTestimonialsFs(ArchetypeFieldsetModel fs) {
    	if(fs==null){return;}
    	var heading = fs.GetValue("heading");
    	var testimonials = fs.GetValue<IEnumerable<IPublishedContent>>("testimonials");
    	if(!testimonials.Any()){return;}
    	if( !string.IsNullOrEmpty(heading )){
    		<h2>@heading </h2>
    	}
    	foreach (var testimonialNode in testimonials){
    		@RenderTestimonialNode(testimonialNode)
    	}
    	
    
    }
    @helper RenderTestimonialNode(IPublishedContent tNode) {
    	if(tNode==null){return;}
    	var author= tNode.GetPropertyValue<string>("author");
    	var quote= tNode.GetPropertyValue<string>("text");
    	<blockquote class="testimonialWidget" >
    	
    	@if( !string.IsNullOrEmpty(quote)){
    		<div class="quote">@quote</div>
    	}
    	@if( !string.IsNullOrEmpty(author)){
    		<div class="author">@author</div>
    	}
    	</blockquote>
    }


    On the front end, it will look something like this...

    Front end render
    archetype-render.png

    Final thoughts

    This is obviously just a simple example with only 2 widgets. Typically, a site would have around 20 widgets, simple sites a few less, complicated sites a few more.

    The code for these examples has been simplified for clarity. In production, you would want to use either the Model builder or your own models via either app code or DLLS and leave the partial just for rendering out the content rather than getting the content in the first place.

    There are many ways of implementing a website, this is just one of the ways we like. It gives the editor a lot of flexibility and keeps the code reworking down so we can focus on the bells and whistles instead of the simple stuff.

    Need an Umbraco website? Get in touch.

    - John

    4th July 2019 Share This:
    ...
    Author
    John Logan
    Developer
    John is one of our talented front-end developers, whose passion for Umbraco sites is fueled not just by caffeine, but quite a lot of sugar! He's been a valuable member of the Gecko team since 2011, using his creativity and technical skills to help countless clients achieve their web presence goals. When he's not busy building amazing websites, John channels his creativity into his love for DIY projects and his woodworking skills are legendary!
    @Twitter
    Read more from Gecko
    The 5 Best Creative Websites We Love and Why
    Black Friday: Is Your Website Ready?
    7 Time-Saving Tools for Busy Marketers
    Follow Us:

    Gecko Agency (Edinburgh)

    hello@wearegecko.co.uk
    t: 0131 240 3390

    t: 0131 240 3390

    Head Office

    Orchard Brae House
    30 Queensferry Road
    Edinburgh
    EH4 2HS

    Gecko Agency Ltd | Copyright © 2025

    • |GDPR
    • |Privacy Policy
    • |Cookie Policy